Solar · Innioasis Y2
Install Solar on your Y2.
Solar is a separate community software project with a Y2 entry in the catalogue. Availability and features can change, so let Updater show the current release for your model.
Choose the Y2 route
- Set Device Model to Y2.
- Choose Solar in Software.
- Read the release note, confirm the Y2 entry, and click Install / Restore.
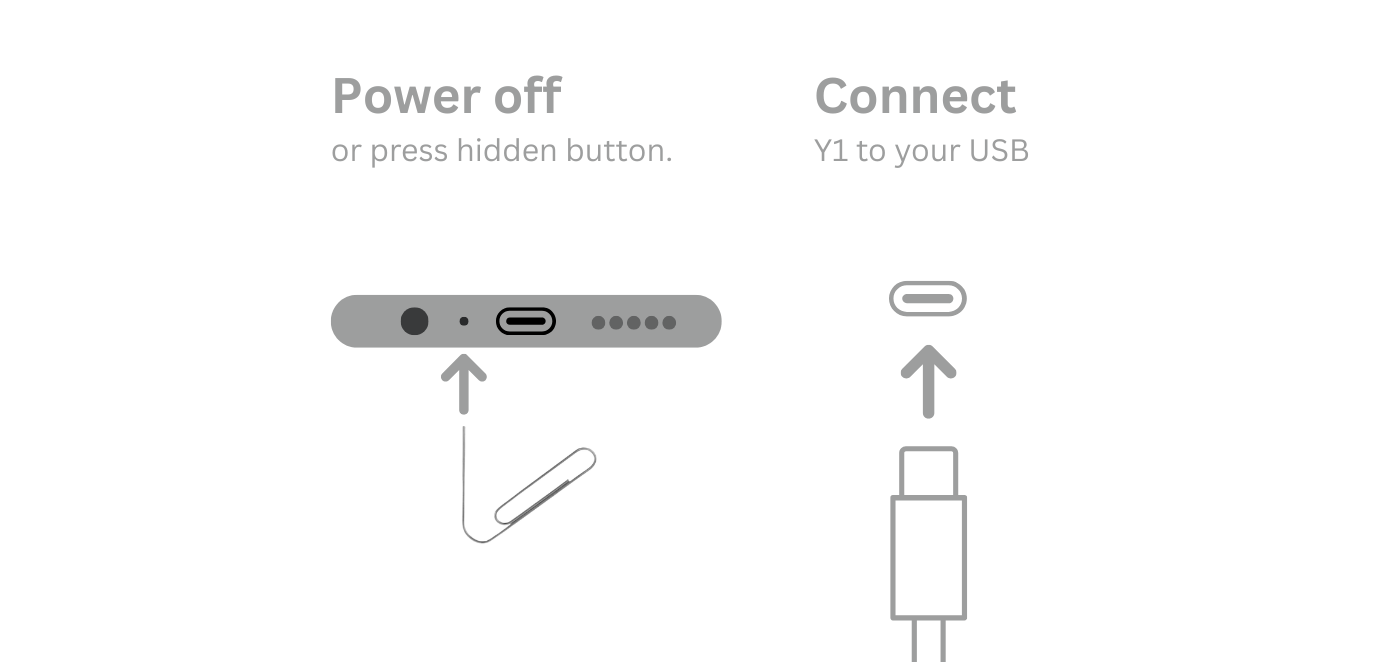
- Power off and connect the player only when Updater asks.
- Restore with Y2 Original Software if you need the stock interface again.
Keep the project note in view
Solar is under active development. Treat the project’s own release notes as the authority for current features and model support. The Updater catalogue tells you what the current release data exposes for your selected model. Do not substitute a Y1 package if the Y2 entry is missing.
Go back to Original Software
Solar does not change the route back to the stock interface. Once Updater is set up for your computer, open it on Windows, macOS, or Linux and select Y2 plus Original Software instead of Solar.
- Choose a stable Y2 Original Software release.
- Click Install / Restore and wait for the live connection prompt.
- Power off the Y2 only when asked.
- Connect the USB data cable at the prompt and leave it still until success.
Do not manually remove Solar files first, and do not use a Y1 package. If the failure happened before the USB prompt, check the computer setup, cable, and model selection first.